Contrary to popular belief, a truly comfortable camping trip isn’t about buying more expensive gear—it’s about applying a few key principles of environmental engineering.
- Your warmth depends more on your sleeping pad’s R-value (ground insulation) than your sleeping bag’s price tag.
- True wilderness immersion is enhanced by mastering minimalist skills, from gourmet cooking on one burner to resetting your sleep cycle with natural darkness.
Recommendation: On your next trip, focus on mastering one system—like your sleep setup or your cooking efficiency—instead of adding a new piece of gear. The result is more comfort with less weight and a deeper connection to the outdoors.
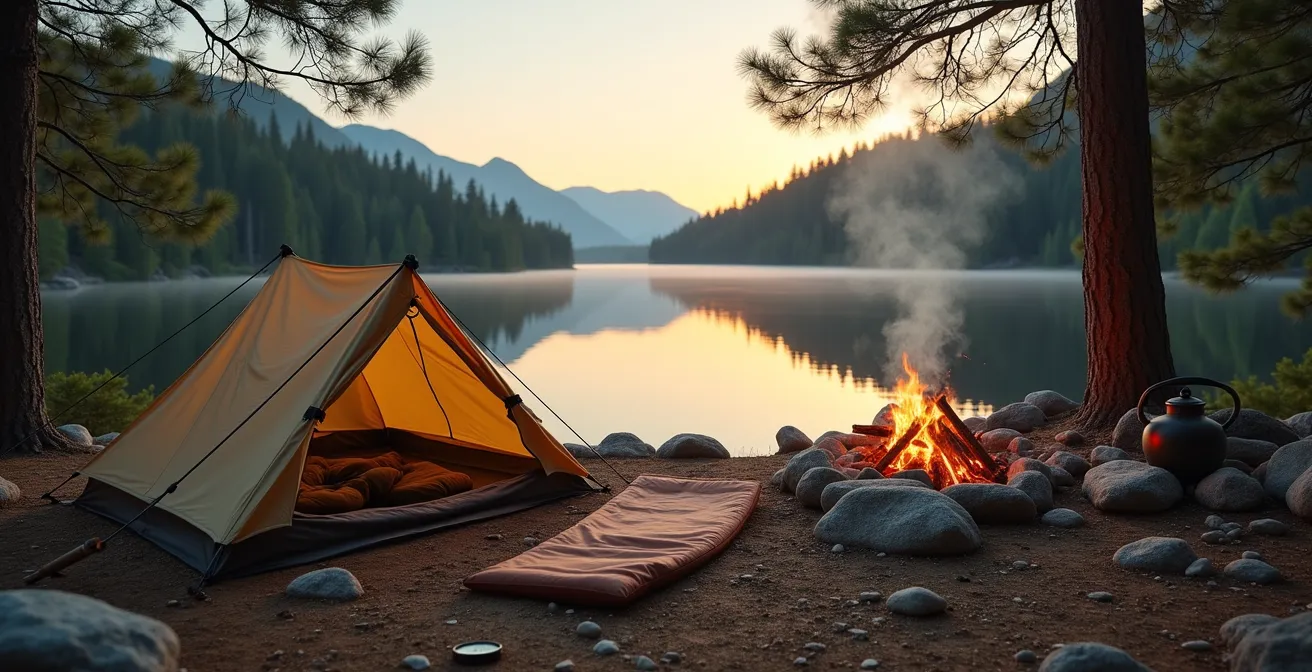
Every camper knows the feeling. You set out seeking tranquility and a deep connection with nature, only to spend the night shivering on the cold, hard ground, your back aching and your spirits sinking. The common advice is to throw money at the problem: buy a thicker sleeping bag, a bigger tent, or a portable espresso machine. Soon, your car is overflowing with equipment, and camping feels more like moving house than escaping civilization. This approach often builds a wall of “comfort” that ironically disconnects you from the very environment you came to experience.
But what if the solution wasn’t in adding more, but in understanding more? What if true, sustainable comfort in the wild isn’t something you purchase, but something you engineer? This guide is built on a simple but powerful premise: by mastering the fundamental physics of your environment—managing heat transfer, water flow, and light exposure—you can dramatically upgrade your comfort while deepening your immersion in nature. It’s about working smarter, not harder; carrying knowledge, not just gear.
This shift in mindset from consumer to creator is the key to unlocking a new level of outdoor enjoyment. It’s the difference between being a passive visitor in a landscape and an active, skillful participant. Forget the endless gear lists. We’re going to explore the systems and skills that provide genuine comfort and self-reliance.
This article will guide you through the practical science of comfortable camping. We’ll deconstruct everything from your sleep system to your camp kitchen, showing you how small adjustments based on smart principles can yield massive improvements in your outdoor experience. Get ready to transform your approach and rediscover the joy of being truly at home in the wilderness.
Summary: Engineer Your Comfort: The Guide to Upgrading Your Camping Experience
- Why R-value matters more than sleeping bag thickness for warmth?
- How to cook gourmet meals on a one-burner stove?
- Glamping or Tent: Is the bed worth the 4x price difference?
- The drainage error that floods your tent during a 2 a.m. rainstorm
- How to stay clean and odorless for 3 days with no shower?
- Hammock or Tent: Which keeps you safer from crawling insects and damp ground?
- Why 3 nights without artificial light resets your melatonin production?
- How to Find Rural Retreats with Zero Light Pollution for Deep Sleep?
Why R-value matters more than sleeping bag thickness for warmth?
As an outdoor guide, the most common mistake I see campers make is investing hundreds of dollars in a high-tech sleeping bag while completely ignoring their sleeping pad. They wake up cold and blame the bag, but they’ve missed the real culprit: conduction. When you lie down, your body weight compresses the insulation in your sleeping bag, rendering it almost useless underneath you. The cold, hard ground then acts like a heat sink, continuously pulling warmth from your body all night long. No matter how lofty your bag is, you can’t win a fight against basic thermodynamics.
This is where R-value comes in. It’s a measure of a material’s resistance to heat flow—or, in this case, its ability to stop the ground from stealing your body heat. The higher the R-value, the better the insulation. A sleeping bag provides warmth by trapping air (convection), but a sleeping pad provides it by blocking heat loss to the ground (conduction). The pad is your shield. Basic foam pads might have an R-value of 1-2, suitable for summer, but for 3-season or winter camping, you need something in the 3-6 range to be truly comfortable. These pads use sophisticated internal structures to create dead air space and reflective films to radiate heat back to you.

Thinking in terms of a “sleep system” rather than individual items is crucial. Your sleeping bag and pad work together. Investing in a pad with the appropriate R-value for the conditions is the single most effective way to guarantee a warm night’s sleep. It allows your sleeping bag to do its job properly, and it’s the foundation of what I call thermodynamic comfort.
This table from an analysis by Section Hiker provides a clear guide for matching R-value to temperature, as shown in a comprehensive breakdown of sleeping pad thermal ratings.
| R-Value | Temperature Range | Season |
|---|---|---|
| 1-2 | Above 50°F (10°C) | Summer |
| 3-4 | 25-50°F (-4 to 10°C) | 3-Season |
| 5-6 | 0-25°F (-18 to -4°C) | Winter |
| 6+ | Below 0°F (-18°C) | Extreme Cold |
How to cook gourmet meals on a one-burner stove?
Many campers resign themselves to a monotonous diet of freeze-dried meals and granola bars, believing that good food is impossible without a full kitchen. This is a failure of imagination, not equipment. The ability to create delicious, satisfying meals on a single burner is a core skill of an experienced outdoorsperson. It’s not about having more gear; it’s about mastering technique and preparation—what I call minimalist efficiency.
The secret starts at home with a “backcountry mise en place.” This means doing all your chopping, measuring, and combining of dry ingredients before you even leave. Store spice blends in tiny bags and pre-mix pancake batter. This minimizes mess and complexity at camp, allowing you to focus on the cooking itself. The next key is meticulous temperature control. Learn to feather your stove’s valve from a roaring boil down to a bare simmer. You can also modulate heat by raising the pot slightly off the flame for more delicate tasks.
Case Study: The Fresh Off The Grid Approach
The popular blog and YouTube channel ‘Fresh Off the Grid’ has built a massive following by shattering the myth of bland camp food. Their philosophy revolves around using fresh ingredients and smart, one-pot recipes to create dishes like campfire paella and dutch oven chili. They prove that with proper planning and technique, a single heat source is all you need to produce restaurant-quality meals in the heart of the wilderness, transforming dinner from a chore into a highlight of the trip.
Finally, embrace one-pot wonders. A single pot can be used to build complex flavors by layering ingredients according to their cooking time. Sauté aromatics first, then add proteins, followed by liquids and quicker-cooking vegetables. A compact flavor kit with essentials like dehydrated mushrooms, sun-dried tomatoes, bouillon cubes, and a small bottle of quality olive oil can elevate any simple dish into a gourmet experience. This skill not only improves morale but deepens your sense of self-reliance and connection to the simple, profound pleasures of outdoor living.
- Prep all ingredients before starting (backcountry mise en place).
- Master temperature control by adjusting flame height and pot distance.
- Layer ingredients by cooking time for complex flavors in one pot.
- Create a compact flavor kit with high-impact ingredients.
- Practice one-pot cooking techniques to minimize cleanup and maximize flavor.
Glamping or Tent: Is the bed worth the 4x price difference?
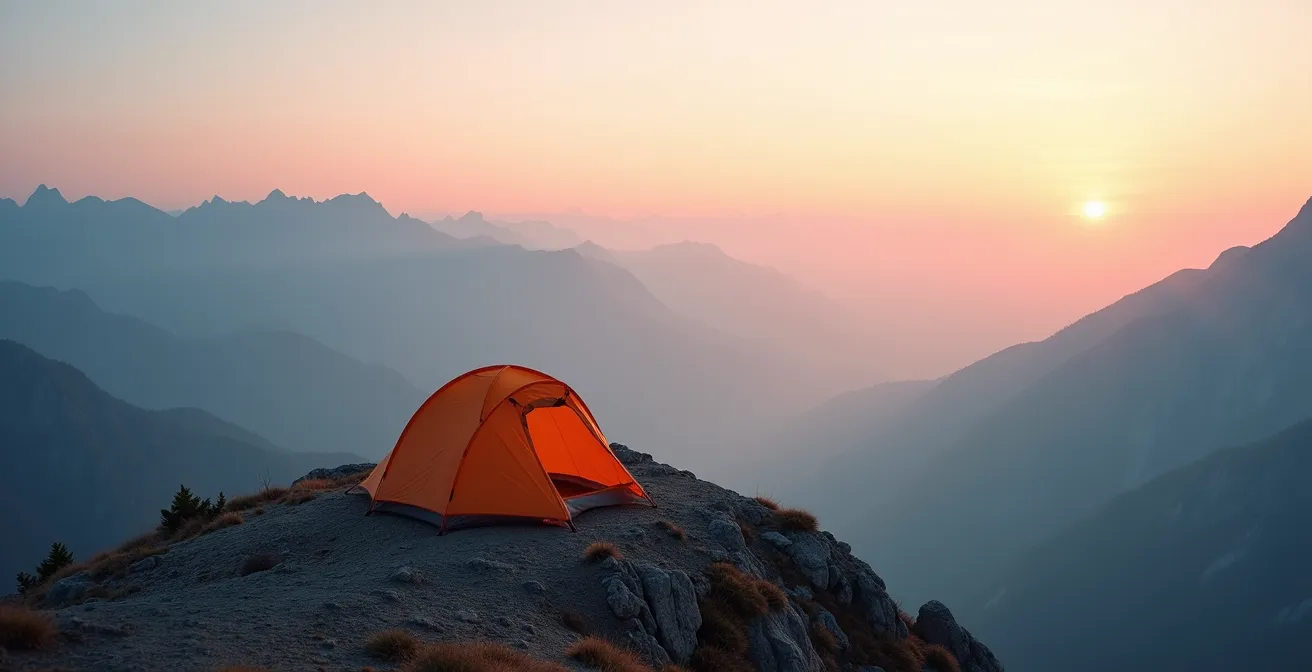
The rise of “glamping” presents a tempting offer: a real bed, four solid walls, and often a heater, all waiting for you in a beautiful location. For those wary of roughing it, it seems like the perfect solution. However, this convenience comes at a significant cost, not just financially, but in the currency of experience. The choice between a tent and a glamping setup is a fundamental decision about your desired comfort-immersion balance.
Glamping prioritizes comfort above all else. It provides a heavily filtered version of nature, observed from a cozy, climate-controlled bubble. There’s no skill to learn, no challenge to overcome. You are a guest, a consumer of a packaged experience. A traditional tent, by contrast, is a tool for immersion. It’s a lightweight, portable shelter that enables direct interaction with the environment. You feel the temperature drop, you hear the patter of rain on the fly, and you wake with the first light of dawn. This sensory engagement is the very essence of connecting with nature.
As the editors at Canvas Camp aptly put it:
A tent represents an investment in skills, self-reliance, and freedom. Glamping is a comfortable, but passive, consumption of a packaged experience.
– Canvas Camp Editorial, 5 Best Ways to Connect With Nature While Camping
The “worth” of the price difference depends entirely on your goal. If you simply want a comfortable bed in a scenic spot, glamping delivers. But if you seek the personal growth, the problem-solving, and the profound connection that come from being self-sufficient in the wild, the value is unequivocally with the tent. Learning to pitch it securely, select a good site, and create a comfortable haven within it are skills that build confidence and last a lifetime. The following table breaks down the core trade-offs.
| Aspect | Glamping | Traditional Tent |
|---|---|---|
| Nature Connection | Comfortable observation from base | Full immersion in environment |
| Price Range | $150-400/night | $20-50/night (campsite) |
| Skill Development | Minimal | Self-reliance & outdoor skills |
| Weather Protection | Complete insulation | Basic shelter |
| Sensory Experience | Filtered through comfort barriers | Direct contact with elements |
The drainage error that floods your tent during a 2 a.m. rainstorm
There are few camping experiences more miserable than being woken up at 2 a.m. by a puddle of cold water seeping through your tent floor. Most people blame their tent’s waterproofing, but I’ve seen countless times where the real problem is a simple, catastrophic setup error. It’s a classic case of a well-intentioned action having disastrous, unintended consequences. This is where a little bit of environmental engineering on a micro-scale can save your trip.
The error is using a footprint or ground tarp that extends beyond the edges of your tent. The logic seems sound: protect the entire area under and around your tent. However, this creates a devastating design flaw known as the “bathtub effect.” During a rainstorm, the exposed edges of the footprint act as a giant rain collector. Water sheets off your tent’s rainfly, lands on the footprint, and is channeled directly underneath your tent floor. No matter how waterproof your tent floor is, it’s not designed to sit in a pool of water indefinitely. Hydrostatic pressure will eventually force moisture through the fabric, soaking you and your gear.
How to Prevent the “Bathtub Effect”
The solution is simple and counterintuitive: your footprint must be slightly smaller than your tent’s floor. Before your trip, lay your tent out on top of your footprint and trim the footprint so it’s about two inches smaller on all sides. Alternatively, when setting up, meticulously tuck all the edges of the footprint completely under the tent floor so that no part of it is visible. This ensures that all rain running off your fly drips directly onto the ground, where it can be absorbed, rather than onto a plastic sheet that funnels it right where you don’t want it.
Beyond the footprint, proper site selection is your primary defense. Never pitch your tent in a depression or a natural drainage channel. Look for a slightly elevated, durable surface. A small mistake in site selection or footprint placement can ruin a night and even an entire trip. Getting this right is a foundational skill that separates experienced campers from novices.
How to stay clean and odorless for 3 days with no shower?
The fear of feeling grimy and smelly is a major barrier for many aspiring campers. The modern expectation of being perfectly sterile and perfumed is at odds with the reality of living outdoors. The key to multi-day hygiene without a shower is to shift your mindset from “urban sterile” to “wilderness clean.” It’s not about eliminating all bacteria; it’s about managing it smartly to stay healthy and comfortable.
Your strategy should focus on two areas: smart fabric choices and targeted cleaning. For clothing, nothing beats merino wool. It’s the original performance fabric. Its fibers have a unique structure that actively wicks moisture away from your skin and, crucially, inhibits the growth of odor-causing bacteria. In fact, research on antimicrobial fabrics shows that high-quality merino wool can be worn for 3-5 days of continuous activity before developing any significant odor. Investing in merino base layers, socks, and underwear is a game-changer for multi-day trips.
For personal hygiene, forget the full-body wash. A “backcountry bath” is a targeted operation. With a small collapsible basin, a few drops of biodegradable soap, and a liter of water, you can effectively clean the three key areas where bacteria thrive: armpits, groin, and feet. This targeted approach uses minimal water, has a low environmental impact, and is highly effective at preventing odor and chafing. The following protocol is a simple but effective system:
- Focus cleaning on key bacteria-prone areas (armpits, groin, feet) with a washcloth.
- Use biodegradable soap sparingly and dispose of greywater 200 feet from any water source.
- Keep one set of clothes exclusively for sleeping (your “sacred sleep clothes”). This ensures you always have a clean, dry layer to change into, which does wonders for morale.
- Whenever possible during the day, air-dry damp clothing in the sun; UV light is a great natural disinfectant.
- Embrace the “wilderness clean” mindset. You won’t be shower-fresh, but you will be comfortable, healthy, and connected to a more natural state of being.
Hammock or Tent: Which keeps you safer from crawling insects and damp ground?
The choice between a tent and a hammock is one of the great debates in camping. While tents are the traditional default, a hammock system offers distinct advantages in specific environments, particularly when it comes to avoiding two of the biggest ground-level nuisances: crawling insects and dampness. The right choice depends entirely on a thoughtful environmental engineering of your shelter based on the terrain you expect to encounter.
A hammock’s primary advantage is elevation. By suspending you between two trees, it physically removes you from the world of crawling things—spiders, ants, ticks—and from the damp, cold ground. In a wet, forested environment, this is a massive benefit. Even after a downpour, when the forest floor is a saturated sponge, a hammock user can be high, dry, and comfortable. Furthermore, on sloped or uneven terrain where finding a flat spot for a tent is impossible, a hammock can provide a perfectly level sleeping platform.
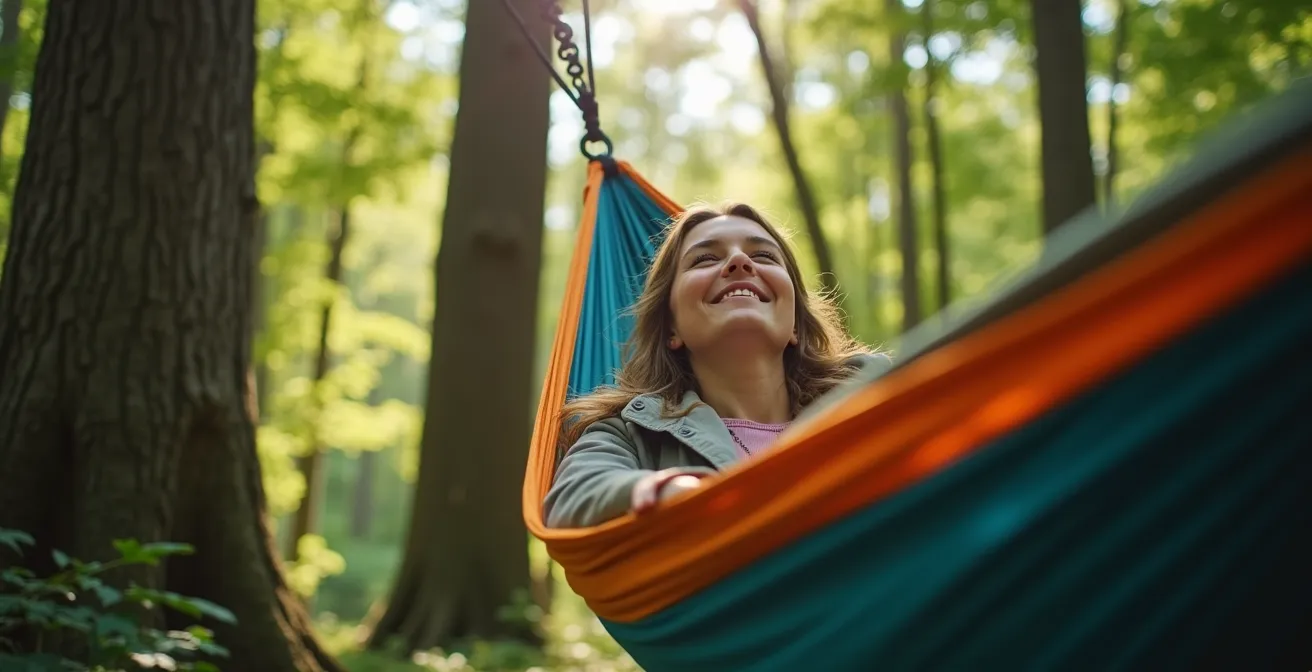
However, this strength is also its weakness. A hammock is entirely dependent on having two perfectly spaced, healthy trees. In open terrain like deserts, alpine meadows, or grasslands, a hammock is useless. A tent, on the other hand, is a self-contained shelter that can be pitched almost anywhere. It also offers superior protection from wind and provides more space for storing gear and for sheltering with a partner. As the Leave No Trace organization highlights, a properly set up hammock can also be a low-impact choice. Their guidelines state: “A properly set up hammock using wide tree-straps leaves almost zero impact on the ground below.”
The decision is situational, not absolute. As this matrix based on data from outdoor retailer REI shows, the optimal shelter is dictated by the environment, as explained in their expert advice on sleeping gear.
| Environment | Best Choice | Reason |
|---|---|---|
| Forest/Trees | Hammock | Elevated from ground moisture & insects |
| Open Fields | Tent | No anchor points for hammock |
| Sloped Terrain | Hammock | Level sleeping regardless of ground |
| Desert | Tent | Ground insulation & wind protection |
| Group Camping | Tent | Social space & gear storage |
Why 3 nights without artificial light resets your melatonin production?
In our modern world, we are bathed in artificial light from screens and bulbs long after the sun has set. This constant exposure wreaks havoc on our biology, specifically on our circadian rhythm—the internal 24-hour clock that governs our sleep-wake cycle. The key hormone in this process is melatonin, which signals to our body that it’s time to sleep. Artificial light, particularly blue light from screens, suppresses melatonin production, making it harder to fall asleep and reducing sleep quality.
Camping offers a powerful antidote. By removing yourself from artificial light sources and exposing yourself only to the natural cycle of sunlight and firelight, you allow your body to undergo a profound sensory recalibration. Scientific studies have explored this effect, and the results are remarkable. Some sleep research demonstrates that after just two to three nights of camping without artificial light, participants’ internal clocks shift dramatically. Their melatonin production starts hours earlier, aligning with the natural sunset, and they begin to feel sleepy at a biologically appropriate time. Their sleep becomes deeper and more restorative.
This isn’t just about “feeling relaxed” in nature; it’s a measurable physiological reset. You can actively enhance this process by adopting a “progressive light diet” during your trip. The goal is to gradually reduce the intensity and color temperature of your artificial light sources each night, weaning your brain off the stimulus it’s used to. By the third night, relying only on the warm, gentle light of a campfire or the moon, your body’s natural rhythms can fully re-synchronize. This is one of the most powerful—and often overlooked—health benefits of camping.
Action Plan: Your Progressive Light Diet Protocol
- Night 1: Put all screens (phone, tablet) away at sunset. If you need a light, use a headlamp on a dim white setting.
- Night 2: Switch exclusively to a red light setting on your headlamp. Red light has a much lower impact on melatonin suppression.
- Night 3: Go primal. Rely only on the light from your campfire or the moon. Avoid using any artificial light if possible.
- Morning Routine: Within 30 minutes of waking each morning, get at least 10-15 minutes of bright, natural sunlight in your eyes to firmly anchor your circadian clock.
- Track the Results: Pay attention to how quickly you fall asleep and how refreshed you feel each morning. You’ll likely notice a significant improvement by day three.
Key Takeaways
- Master Thermodynamics: Your warmth and comfort depend more on your sleeping pad’s R-value and protection from ground conduction than on your sleeping bag’s thickness.
- Skill Over Gear: True camping expertise is shown not by what you own, but by what you can do with minimal equipment, from cooking gourmet meals to managing hygiene.
- Darkness is a Nutrient: Embracing natural light cycles by minimizing artificial light, especially for three consecutive nights, can profoundly reset your body’s sleep patterns and improve overall well-being.
How to Find Rural Retreats with Zero Light Pollution for Deep Sleep?
Experiencing a true biological reset of your sleep cycle is impossible if your campsite is flooded with light from nearby towns, RVs, or even the campground’s own facilities. To fully achieve the sensory recalibration discussed previously, you must actively seek out darkness. Finding a location with minimal to zero light pollution transforms camping from a simple outdoor stay into a deep, restorative retreat.
The first tool in your search is a light pollution map, which uses data from sources like the International Dark-Sky Association. These maps color-code the world based on the brightness of the night sky. Your goal is to find public lands or campgrounds located in “grey,” “blue,” or “green” zones, which correspond to the Bortle Scale classes 1-4. A Class 1 sky is pristine, revealing the Milky Way in stunning detail, while a Class 4 sky is typical of a rural/suburban transition zone. Anything higher (yellow, orange, red) will have significant light pollution.
Once you’ve identified a dark region, the real vetting begins. Not all campgrounds in dark zones are created equal. Call the ranger station or camp host and ask specific questions. Do they enforce “lights out” hours? Are the lights on restroom buildings shielded and downward-facing, or are they unshielded floodlights that ruin the night sky for everyone? A truly dark-sky-friendly campground will take pride in these policies. Planning your trip around the new moon will further enhance the experience, eliminating the moon’s natural “light pollution” and revealing the maximum number of stars.
The Experience of True Darkness
Seeking out true darkness isn’t just about better sleep; it unlocks a whole new dimension of the outdoor experience. In a location with a Bortle Class 1 or 2 sky, the darkness itself becomes the main attraction. You can observe the Milky Way’s galactic core with the naked eye, a sight that has become impossible for over 80% of the world’s population. You can practice astrophotography with just your smartphone. The soundscape also changes, as your ears become a more dominant sense. These activities transform darkness from a challenge to be overcome into the primary reason for the trip, deepening your connection to the cosmos and the nocturnal world.
- Check online light pollution maps (like darksitefinder.com) and aim for areas rated Bortle Scale Class 1-3.
- Verify that the specific campground enforces “quiet hours” and has a “lights out” policy.
- Confirm that all facility lights (restrooms, etc.) are fully shielded and point downward.
- Ask about policies on excessively bright lanterns, string lights, and large, unattended campfires.
- Plan your visits during the new moon phase for the darkest possible skies.
Now that you’re armed with the knowledge to engineer your comfort, the next step is to put it into practice. Pick one system—your sleep setup, your kitchen, or your light exposure—and focus on mastering it during your next outing. You will be amazed at how a small application of knowledge can transform your entire experience, bringing you more comfort, more confidence, and a far deeper connection to the wild.