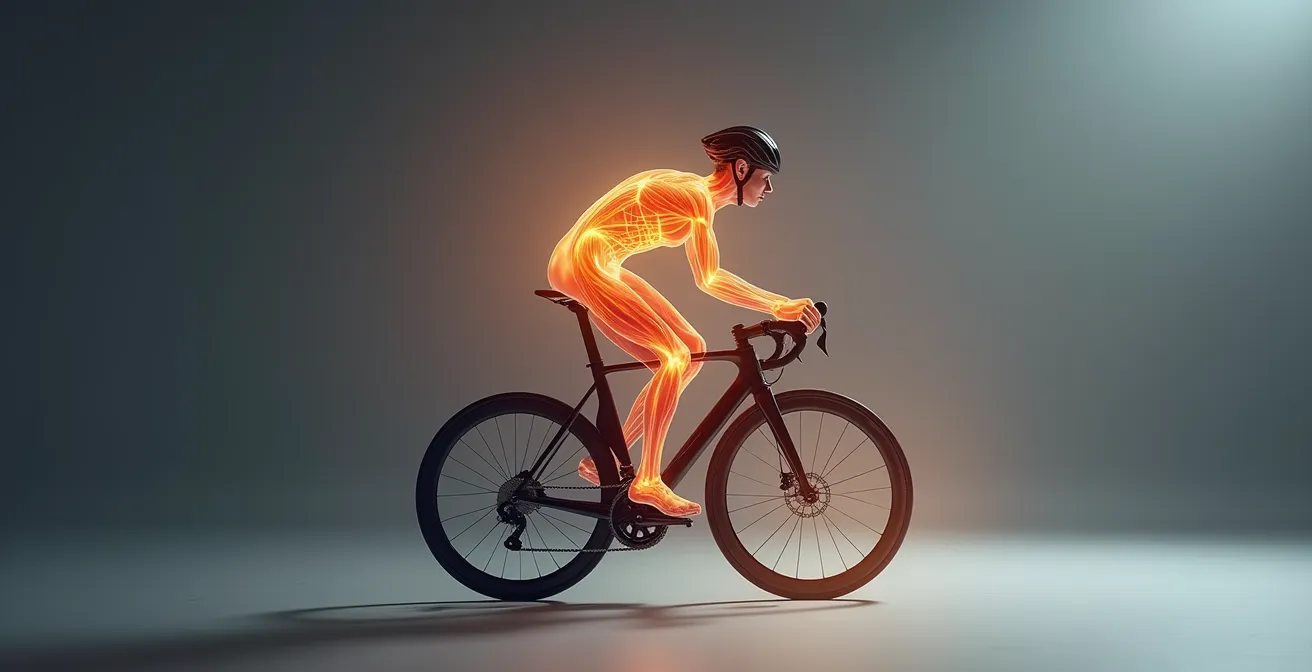
The persistent lower back pain you feel on the bike is not a flexibility problem; it’s a deep core motor control failure that generic stretching can make worse.
- Cycling creates specific imbalances where deep stabilizers (like the transverse abdominis) switch off, and hip flexors become chronically tight, forcing the lumbar spine to compensate.
- Pilates, particularly on a Reformer, excels at providing targeted feedback to re-awaken these dormant muscles and correct postural patterns like anterior pelvic tilt.
Recommendation: Prioritize learning to activate your deep core and glutes through precise, controlled movements over aggressive hamstring stretching to build a truly resilient spine for cycling.
That familiar, grinding ache in your lower back after a long ride is a frustrating paradox for any dedicated cyclist. You’re fit, you’re strong, but your spine tells a different story. The common advice is a relentless cycle of stretching your hamstrings and hips, maybe throwing in some planks and yoga classes. Yet, the pain persists, becoming a chronic barrier to your performance and enjoyment. This is because the conventional approach often misdiagnoses the root cause.
The issue isn’t simply “tightness” that can be stretched away. For many cyclists, it’s a fundamental motor control failure. The prolonged, flexed posture on the bike teaches your body a dysfunctional pattern: your deep core stabilizers switch off, your glutes become dormant, and your hip flexors and lower back take over jobs they were never designed to do. This creates a state of constant, low-grade strain on your lumbar vertebrae.
But what if the solution wasn’t about forcing more flexibility, but about re-educating your body’s stabilization system from the inside out? This is where the corrective principles of Pilates offer a more precise and permanent fix than generic core work or stretching alone. It’s about building a spine that is stable under load, not just flexible at rest.
This article will deconstruct the specific biomechanical failures that lead to a cyclist’s back pain. We will explore why activating one specific muscle is non-negotiable, how to identify the postural faults ruining your ride, and build a clear framework for using these practices to create a resilient, pain-free foundation for your cycling.
Summary: Pilates vs. Yoga: A Cyclist’s Guide to a Pain-Free Spine
- Why engaging the transverse abdominis protects your spine on long rides?
- Mat or Reformer: Which provides better feedback for fixing posture?
- How to identify if you have an anterior tilt that ruins your saddle position?
- The breathing mistake that increases blood pressure during core work
- How many sessions per week are needed to see a change in core strength?
- The physical weakness that limits your session time to under an hour
- The alignment error in forward folds that causes herniated discs
- How to Condition Your Knees for Downhill Hiking in 4 Weeks?
Why Engaging the Transverse Abdominis Protects Your Spine on Long Rides?
Forget the six-pack muscles (rectus abdominis). The key to spinal health on the bike lies deeper, in a muscle you can’t see: the transverse abdominis (TVA). Think of the TVA as your body’s internal weightlifting belt or natural corset. When properly engaged, it wraps around your midsection, increasing intra-abdominal pressure and creating a rigid cylinder that stabilizes your lumbar spine. For a cyclist, this stabilization is paramount.
On a long ride, you are in a prolonged state of spinal flexion. Without the support of the TVA, the load is transferred directly to the passive structures of your spine—the ligaments and intervertebral discs. This is a recipe for overuse injury and chronic pain. Engaging the TVA allows for what Pilates instructors call disassociation: the ability to powerfully move your legs from the hip sockets without your pelvis and lower back rocking, twisting, or taking the strain. It creates a solid platform from which your legs can generate power efficiently.
The problem is that for many, TVA activation is not automatic. Research confirms this connection; studies show that imbalances in core muscle activation, particularly in the TVA and lumbar multifidus, are directly linked to maladaptive spinal kinematics and increased stress. An analysis of cyclists highlighted that inadequate thickness and activation of these deep muscles in a flexed posture are significant contributors to overuse and lower back pain. Therefore, learning to consciously engage this deep stabilizer isn’t just an exercise—it’s the fundamental skill for protecting your spine.
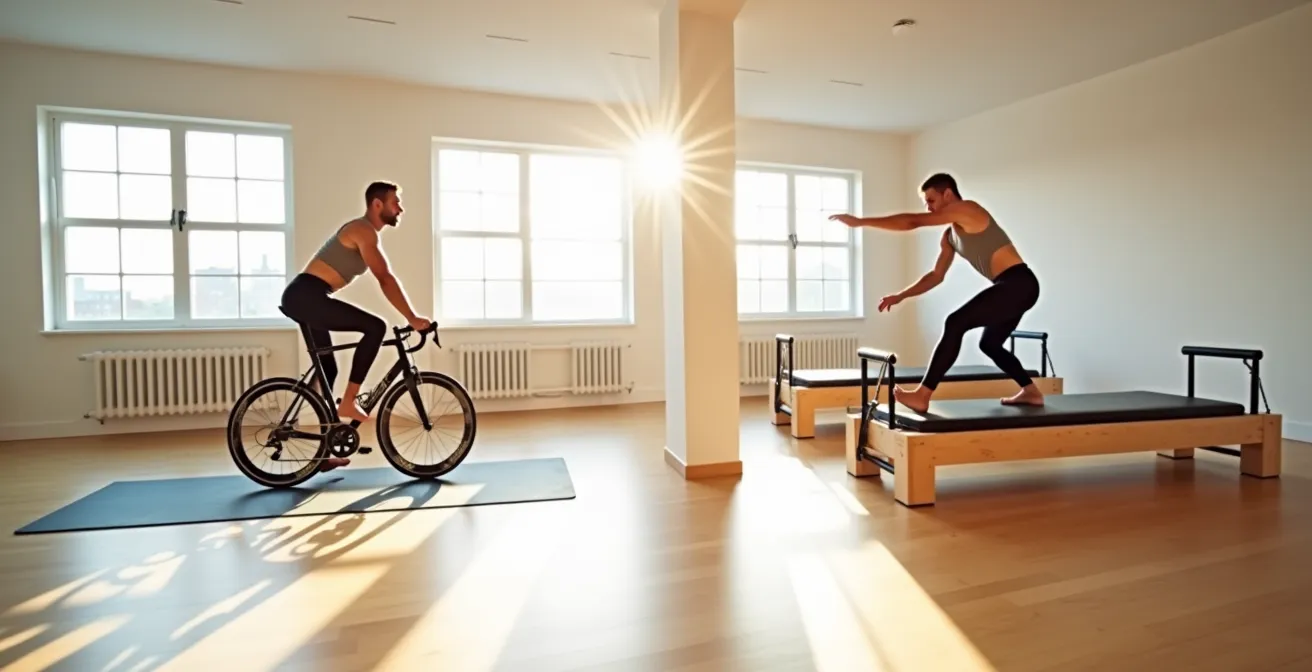
Mat or Reformer: Which Provides Better Feedback for Fixing Posture?
Once you understand the need to activate deep stabilizers, the next question is how. Both Mat and Reformer Pilates can be effective, but they provide different types of feedback crucial for correcting a cyclist’s specific postural issues. The choice often depends on your level of body awareness and the precise nature of your weakness.
The Reformer, with its system of springs, straps, and a moving carriage, provides constant proprioceptive feedback. The spring resistance makes you acutely aware of muscular imbalances. If one side is weaker, the carriage will wobble or the straps will pull unevenly. This external feedback is invaluable for someone with a poor mind-muscle connection. As Pilates instructor Hannah Attenburrow notes, Reformer exercises are often ‘closed-chain’ (where your hands or feet are fixed against a surface), which is excellent for isolating and strengthening specific weak muscles like the gluteus medius, a common issue for cyclists.
Mat Pilates, on the other hand, relies solely on your own body weight and awareness. It forces you to find stability without external support, making it excellent for translating strength into functional, real-world movement—like staying stable on the bike. The following table breaks down the key differences to help you decide.
This comparative data, derived from analysis of Pilates interventions, clarifies the distinct advantages of each modality for a cyclist’s rehabilitation.
| Aspect | Mat Pilates | Reformer Pilates |
|---|---|---|
| Feedback Type | Body awareness only | Spring resistance feedback |
| Kinetic Chain | Open chain – free movement | Closed chain – fixed positions |
| Best For | Functional transfer to bike | Isolating weak muscles |
| Cost | Low – mat only | High – equipment needed |
For a cyclist with chronic pain and suspected motor control issues, starting on the Reformer can be a faster path to identifying and correcting the underlying weakness. Once that connection is established, the skills can be transferred and solidified on the mat.
How to Identify if You Have an Anterior Tilt That Ruins Your Saddle Position?
Anterior pelvic tilt is one of the most common postural dysfunctions in cyclists and a primary driver of lower back pain. It’s a position where the front of the pelvis drops and the back of the pelvis rises, creating an exaggerated curve in the lumbar spine. This posture is caused by a combination of chronically tight hip flexors and weak, underactive glutes and abdominals. On the bike, this tilt forces your lower back into constant hyperextension to compensate, placing immense pressure on the vertebrae and leading to that familiar ache.
This is not a niche problem; it’s widespread. For context, a 2021 survey of 1,274 Italian cyclists found that 55.1% experienced lower back pain in the past year, with postural issues like anterior tilt being a major contributing factor. Identifying whether you have this tilt is the first step toward correcting it. While a professional can give a definitive diagnosis, you can perform a simple self-assessment at home known as the Thomas Test.
The Thomas Test specifically assesses the length of your hip flexor muscles. Tightness here is a hallmark of an anterior pelvic tilt. Performing this test can give you a clear, tangible sign that your posture needs corrective work.
Your Action Plan: Thomas Test Self-Assessment for Cyclists
- Lie on your back at the very edge of a sturdy bed or table, with both legs hanging freely off the side.
- Grasp one knee and pull it firmly toward your chest, ensuring your lower back stays flat against the surface.
- Allow the other leg to hang down toward the floor. Observe its position. If the thigh of this hanging leg lifts off the surface and is unable to drop parallel to the floor, your hip flexors on that side are tight.
- Also, check if your lower back arches significantly away from the surface as the leg hangs; this is a strong indicator of an anterior pelvic tilt pattern.
- Release the knee and repeat the test on the opposite side to check for any asymmetries between your left and right hip flexors.
A positive Thomas Test is a clear signal. It tells you that simply “stretching your back” is the wrong approach. The real work is in releasing the front of your hips and reactivating the glutes and core to pull your pelvis back into a neutral, power-producing position.
The Breathing Mistake That Increases Blood Pressure During Core Work
When faced with a challenging core exercise, the instinctive reaction for many is to hold their breath. This action, known as the Valsalva maneuver, involves exhaling against a closed glottis. While it can temporarily increase trunk stability by creating a high-pressure environment, it’s a detrimental habit for an endurance athlete. Holding your breath spikes your blood pressure, restricts oxygen flow to working muscles, and reinforces a pattern of tension rather than controlled strength.
The correct approach, central to both Pilates and Yoga, is diaphragmatic breathing. This involves a full, controlled breath cycle: inhaling to expand the ribcage and abdomen, and exhaling to draw the navel in towards the spine, which naturally engages the transverse abdominis. The exhalation should be the point of maximum effort in any core exercise. For example, in a ‘dead bug’ exercise, you exhale as you extend the opposite arm and leg, using the breath to maintain pelvic stability.
Mastering this breathing technique does more than just support your core. It transforms your physiological state. As noted by expert Brett Starkowitz, the controlled breathing of Yoga and Pilates trains a ‘rest and digest’ parasympathetic response, which can improve recovery and reduce on-bike stress. For a cyclist, this is a double win: you build functional core strength while simultaneously training your nervous system to be more efficient and less reactive to stress, both on and off the bike. The breathing mistake isn’t just inefficient; it robs you of a powerful recovery tool.
How Many Sessions Per Week Are Needed to See a Change in Core Strength?
Addressing chronic back pain and building true core stability is not about a single, heroic workout but about consistency. The goal is motor learning—rewiring the neural pathways between your brain and your deep stabilizing muscles. This requires frequent, consistent practice rather than infrequent, long sessions. For motor re-patterning, frequency trumps duration every time.

So, how much is enough? The evidence suggests that meaningful change can happen faster than you might think. For instance, a randomized control trial demonstrated that just 4 weeks of intervention with Pilates-based exercises showed significant disability reduction in patients with chronic low back pain. This highlights that consistent, targeted work yields measurable results in a relatively short period.
The optimal frequency, however, changes with your cycling season. Your off-season is the time for intensive rebuilding, while your in-season focus shifts to maintenance. Here is a general framework to guide your training schedule:
- Off-Season (Base Building): Aim for 3-4 sessions per week, each lasting 30-45 minutes. This is your primary window to focus on strength gains and correcting deep muscular imbalances.
- Pre-Season (Integration): Reduce to 2-3 sessions per week, around 20-30 minutes each. Begin integrating movements that are more specific to the cycling posture.
- In-Season (Maintenance): A maintenance dose of 1-2 short sessions per week (15-20 minutes) on recovery days is often enough to retain the motor patterns and strength you’ve built.
- Minimum Effective Dose for Pain: If time is a major constraint, even a 10-minute daily activation routine focusing on TVA and glute engagement can be profoundly effective at keeping pain at bay. Remember, four 20-minute sessions are superior to one 80-minute session for learning new movement patterns.
The Physical Weakness That Limits Your Session Time to Under an Hour
If you find your lower back starts to ache or your form breaks down less than an hour into a ride, the culprit is often misidentified as a “weak core.” While core stability is part of the equation, the primary point of failure for most cyclists is more specific: inhibited gluteal muscles. Your glutes, particularly the gluteus maximus and medius, are the most powerful muscles in your body and should be the primary engine for your pedal stroke.
However, the combination of a sedentary lifestyle and the fixed, seated posture of cycling leads to a phenomenon called “gluteal amnesia.” The muscles essentially “switch off” because they are not being called upon to stabilize the pelvis or extend the hip. When the glutes don’t do their job, other, smaller muscles must compensate. The hamstrings and, crucially, the muscles of the lower back (like the quadratus lumborum) take over, leading to fatigue, strain, and eventual pain. As Dr. Maryke Louw, a sports physiotherapist, states, “The primary weakness is often not in the ‘core’ but in the glutes, which become inhibited from sitting.”
This isn’t just theory; it’s observable. Scientific analysis comparing short- and long-distance cyclists found significant differences in the muscle thickness of various abdominal and leg muscles. This suggests that endurance cycling creates highly specific adaptations and that training programs must be targeted to counteract the resulting imbalances, particularly by strengthening the hip extensors and spinal erectors. The feeling of your back “giving out” is often the endpoint of your glutes checking out of the ride much earlier.
The Alignment Error in Forward Folds That Causes Herniated Discs
The common forward fold, or toe-touch stretch, is often recommended to “stretch the lower back.” For a cyclist with underlying motor control issues, this is one of the most dangerous movements you can perform incorrectly. The critical error is flexing from the lumbar spine instead of hinging from the hips. When you round your lower back to reach for your toes, you place immense shearing force and compressive load on the front portion of your intervertebral discs, pushing the soft nucleus pulposus backward. Repeated over time, this is the exact mechanism that can lead to a bulging or herniated disc.
This pattern of spinal flexion is particularly risky for cyclists, as research on amateur road cyclists indicates that muscle activation asymmetries and poor movement patterns constitute a significant risk factor for spinal pain. The goal is not to avoid flexion, but to control it by teaching your body the correct movement pattern: the hip hinge. A proper hip hinge maintains a neutral, straight spine while the movement comes purely from the hip joints. This is the same pattern you should use when getting on and off your bike, or picking something up from the floor.
Learning to hip hinge safely protects your spine and retrains your body to use your hips and hamstrings for flexion, not your vulnerable lower back. You can practice this movement with a dowel or broomstick to get instant feedback on your spinal alignment.
- Stand with your feet hip-width apart and place a dowel vertically along your spine, ensuring it makes contact with your head, your upper back (between the shoulder blades), and your tailbone.
- Initiate the movement by pushing your hips straight back, as if trying to touch a wall behind you. Focus on maintaining all three points of contact with the dowel throughout the movement.
- Keep your knees soft with a slight bend to allow for proper hip movement. Don’t lock them.
- Lower your torso only as far as you can while keeping a perfectly neutral spine (all three points on the dowel). You will feel a deep stretch in your hamstrings.
- Return to a standing position by driving your hips forward and squeezing your glutes, not by lifting with your back muscles.
Practicing this in front of a mirror will help you see and correct any tendency to round your lower back, breaking a dangerous habit and building a protective one.
Key Takeaways
- Your cyclist’s back pain is likely a motor control issue, not a simple lack of flexibility, driven by dormant glutes and a weak deep core (TVA).
- Pilates excels at re-educating these muscles, with the Reformer offering superior feedback for beginners and the Mat providing functional, real-world strength.
- Correcting posture, like an anterior pelvic tilt, and mastering proper movement patterns, such as the hip hinge, are more critical than generic stretching.
How to Condition Your Knees for Downhill Hiking in 4 Weeks?
At first glance, conditioning for downhill hiking seems unrelated to cycling. However, the biomechanical principles required to descend a steep trail without knee pain are the very same ones needed for a powerful, pain-free pedal stroke: eccentric control and single-leg stability. Downhill hiking is essentially a series of controlled, single-leg landings where your quadriceps and glutes must work eccentrically (lengthening under tension) to absorb impact and decelerate your body.
When a cyclist experiences knee pain, it’s often due to the same weaknesses that cause pain in hikers: poor tracking of the kneecap (patella) because the gluteus medius is not strong enough to prevent the knee from collapsing inward. Likewise, a weak eccentric control in the quads and glutes means you “stomp” through the pedal stroke rather than controlling the full 360-degree cycle, leading to inefficiency and strain on the knee joint.
Therefore, the exercises that build resilient knees for hiking are exceptionally effective for cyclists. They focus on building stability from the hip down, ensuring the knee acts as a simple hinge and not a wobbly pivot point. By training your body to handle the demands of controlled, single-leg deceleration, you are directly improving your ability to produce smooth, stable power on the bike. The following exercises are a perfect starting point for building this foundational stability.
- Single-Leg Bridge: Lie on your back with knees bent. Lift one leg straight up, then raise your hips. Hold for 30 seconds, focusing on keeping your hips perfectly level. This targets glute and hamstring stability.
- Clamshells with Resistance Band: Lie on your side with knees bent and a band around your thighs. Keeping your feet together, lift your top knee against the band’s resistance. This specifically isolates and strengthens the gluteus medius.
- Single-Leg Deadlifts: Start by mastering the hip hinge on two feet, then progress to a single leg. This challenges your balance and the entire posterior chain (glutes and hamstrings) of the standing leg.
- Warrior III Progression: This yoga pose is an excellent test of single-leg balance and hip stability. Start by holding onto a wall for support and progress to a free-standing pose.
To translate these principles into lasting relief and improved performance, the next logical step is to commit to a consistent practice that prioritizes this precise form of motor control. Focusing on activation and stabilization, not just brute strength or passive stretching, is the key to building a truly resilient body for the demands of cycling.